Upgrading your bathroom vanity is one of the most effective ways to improve both style and functionality in your space. Whether you are remodeling your bathroom or simply replacing an outdated fixture, learning how to install a vanity can save money and help you create a refreshed, more organized bathroom.
A new vanity offers better storage, improved aesthetics, and enhanced convenience. However, successful vanity installation requires careful planning, accurate measurements, and proper plumbing connections to avoid costly mistakes.
This complete vanity installation guide walks through the process step by step, from preparation and removal to installation and finishing touches.
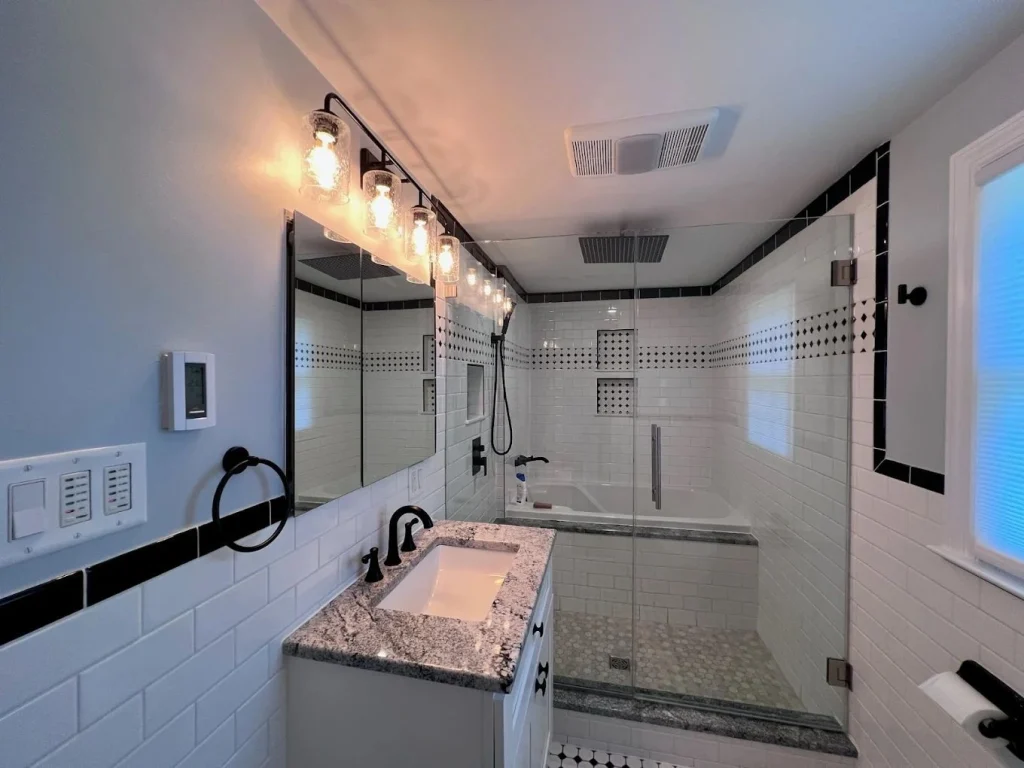
Why Upgrade or Replace Your Bathroom Vanity?
Before diving into how to install a vanity, it helps to understand why homeowners choose to upgrade.
A new vanity can provide:
- Better bathroom organization
- More storage space
- Updated aesthetics and modern style
- Improved plumbing functionality
- Increased home value
If your current vanity is damaged, outdated, or no longer fits your needs, learning how to replace a bathroom vanity may be a worthwhile home improvement project.
Step 1: Gather Tools and Materials
Preparation is one of the most important parts of smooth vanity installation.
Before starting, gather common tools and materials such as:
- Measuring tape
- Level
- Screwdriver or drill
- Adjustable wrench
- Utility knife
- Caulk and caulking gun
- Stud finder
- Plumbing tape
- Bucket and towels
Having everything ready before installation minimizes delays and helps the process move efficiently.
Step 2: Turn Off Water Supply
Before removing an old vanity or beginning plumbing work, turn off the water supply.
Locate the shut-off valves under the sink and close both hot and cold water lines. Turn on the faucet afterward to drain any remaining water from the pipes.
Place a bucket beneath plumbing connections to catch any excess water during removal.
Skipping this step is one of the most common mistakes homeowners make when learning how to replace a bathroom vanity.
Step 3: Remove the Existing Vanity
If replacing an old unit, the next step is removing it safely.
Disconnect:
- Water supply lines
- Drainpipe connections
- Faucet attachments if necessary
Use a utility knife to cut through any caulk sealing the vanity to the wall. Carefully unscrew the vanity from mounting points and lift it away.
Inspect the wall and flooring for damage before moving forward. Water leaks behind old vanities may reveal hidden repairs that should be addressed before new installation begins.
A clean and level surface helps create a smoother vanity installation process.
Step 4: Measure the Space Carefully
Accurate measurements are critical when learning how to install a vanity.
Measure:
1. Width
Confirm the vanity fits comfortably without blocking doors or pathways.
2. Depth
Ensure enough clearance remains for comfortable movement in the bathroom.
3. Height
Standard vanity heights vary, so choose one that suits your household’s needs.
4. Plumbing Placement
Check drain and supply line positions to ensure compatibility with the new vanity.
Mistakes in measuring often lead to frustrating delays or expensive adjustments later.
Following a reliable vanity installation guide means measuring twice before installation begins.
Step 5: Position the Vanity Properly
Before securing the vanity, place it temporarily in the desired location.
Check for:
- Proper wall alignment
- Plumbing access openings
- Level positioning
- Comfortable spacing around surrounding fixtures
Use a level to confirm the vanity sits evenly. Uneven placement can cause countertop instability and drainage issues.
Minor floor unevenness can often be corrected with shims beneath the vanity base.
Taking time during positioning is one of the most valuable vanity installation tips for long-term durability.
Step 6: Secure the Vanity to the Wall
Once placement is confirmed, secure the vanity to wall studs.
Using a stud finder:
- Locate wall studs behind the vanity.
- Mark mounting points.
- Drill pilot holes if necessary.
- Fasten screws securely through the vanity into studs.
Avoid overtightening, which could damage the vanity material.
Proper anchoring ensures stability and prevents shifting over time.
Wall Mounted Vanity Installation
For wall mounted vanity installation, secure mounting brackets according to manufacturer instructions.
Floating vanities require especially strong support because they do not rest directly on the floor.
Double-check:
- Weight capacity
- Wall strength
- Stud alignment
- Mounting hardware compatibility
A successful wall mounted vanity installation improves modern bathroom aesthetics while creating an open, spacious feel.
Step 7: Install the Countertop and Sink
Some vanities include pre-installed countertops and sinks, while others require separate assembly.
If installing separately:
- Position the countertop carefully
- Ensure sink openings align properly
- Apply adhesive if recommended
- Secure components according to manufacturer instructions
Seal edges with waterproof caulk to prevent moisture infiltration.
Proper sealing helps extend the life of your vanity and surrounding materials.
Step 8: Reconnect Plumbing
Plumbing is often the most intimidating part of learning how to install a vanity, but patience makes the process manageable.
Reconnect:
1. Water Supply Lines
Attach hot and cold water lines securely.
2. Drain Assembly
Reconnect the sink drain and trap.
3. Faucet Connections
Install faucet hardware if not already attached.
Apply plumber’s tape where needed to reduce leaks.
After reconnecting everything, slowly turn the water supply back on and inspect for drips.
Checking connections carefully is one of the most important vanity installation tips for avoiding future water damage.
Step 9: Add Finishing Touches
The final step in your vanity installation guide involves finishing details.
Complete the project by:
- Applying caulk along edges
- Cleaning installation debris
- Adjusting cabinet doors or drawers
- Installing hardware and handles
- Touching up nearby paint if necessary
These small details improve both appearance and performance.
A polished finish helps your bathroom feel complete and professionally installed.
Common Mistakes to Avoid
Learning how to replace a bathroom vanity becomes easier when you know what mistakes to avoid.
1. Skipping Measurements
Poor measurements can result in fit issues or plumbing misalignment.
2. Ignoring Level Placement
An uneven vanity may affect sink drainage and countertop stability.
3. Forgetting Wall Studs
Improper anchoring can make the vanity unstable over time.
4. Rushing Plumbing Connections
Loose fittings often lead to leaks and water damage.
5. Choosing Style Over Functionality
While aesthetics matter, storage and practical use are equally important.
Avoiding these common problems makes vanity installation smoother and less stressful.
Helpful Vanity Installation Tips
For better results, keep these extra vanity installation tips in mind:
1. Choose Moisture-Resistant Materials
Bathrooms experience frequent humidity, so durable materials matter.
2. Upgrade Plumbing Fixtures
Installing a new faucet alongside the vanity can improve overall appearance.
3. Consider Storage Needs
Choose drawer and cabinet configurations that match your daily routine.
4. Plan for Future Accessibility
Comfortable heights and accessible storage improve long-term usability.
5. Ask for Professional Help if Needed
Complicated plumbing or structural adjustments may require expert assistance.
Why a New Vanity Improves Your Bathroom
Replacing an old vanity offers more than cosmetic benefits.
A properly installed vanity can:
- Improve organization
- Increase storage space
- Enhance bathroom efficiency
- Create a more modern appearance
- Raise property appeal and value
Whether upgrading for comfort or resale, learning how to install a vanity gives homeowners more control over bathroom improvements.
Final Thoughts on How to Install a Vanity
Understanding how to install a vanity makes bathroom upgrades feel more manageable and rewarding. By preparing properly, measuring carefully, securing the vanity correctly, and reconnecting plumbing with attention to detail, homeowners can complete a smooth and successful installation.
Whether you’re tackling a full remodel or simply learning how to replace a bathroom vanity, following a clear vanity installation guide helps reduce mistakes and improve results.
With the right planning and these practical vanity installation tips, your new vanity can add both beauty and function to your bathroom for years to come.